Setting up your first domain is a six-step wizard: tell GetMint what brand to analyze, confirm the competitors and AI models, pick a topic and the prompts to track, and land on a dashboard with an onboarding checklist. End-to-end, it takes 3–5 minutes. The first data appears after the first refresh cycle (weekly on Starter).
Before you start
You need:
- A brand URL (your canonical website).
- The market and language you want to monitor.
- A short list of competitors in mind (3–5 is the sweet spot).
You don't need DNS access, a JavaScript snippet, or any code change. GetMint reads your site the same way AI crawlers do (raw HTML).
Step 1 — Tell GetMint what brand to analyze
Wizard label: 01/06 — What brand should we analyze?
Pick your role from the dropdown, enter your Brand URL, the Brand Name GetMint should track, and the Market + Language pair (language is inferred from the country choice — override if needed).
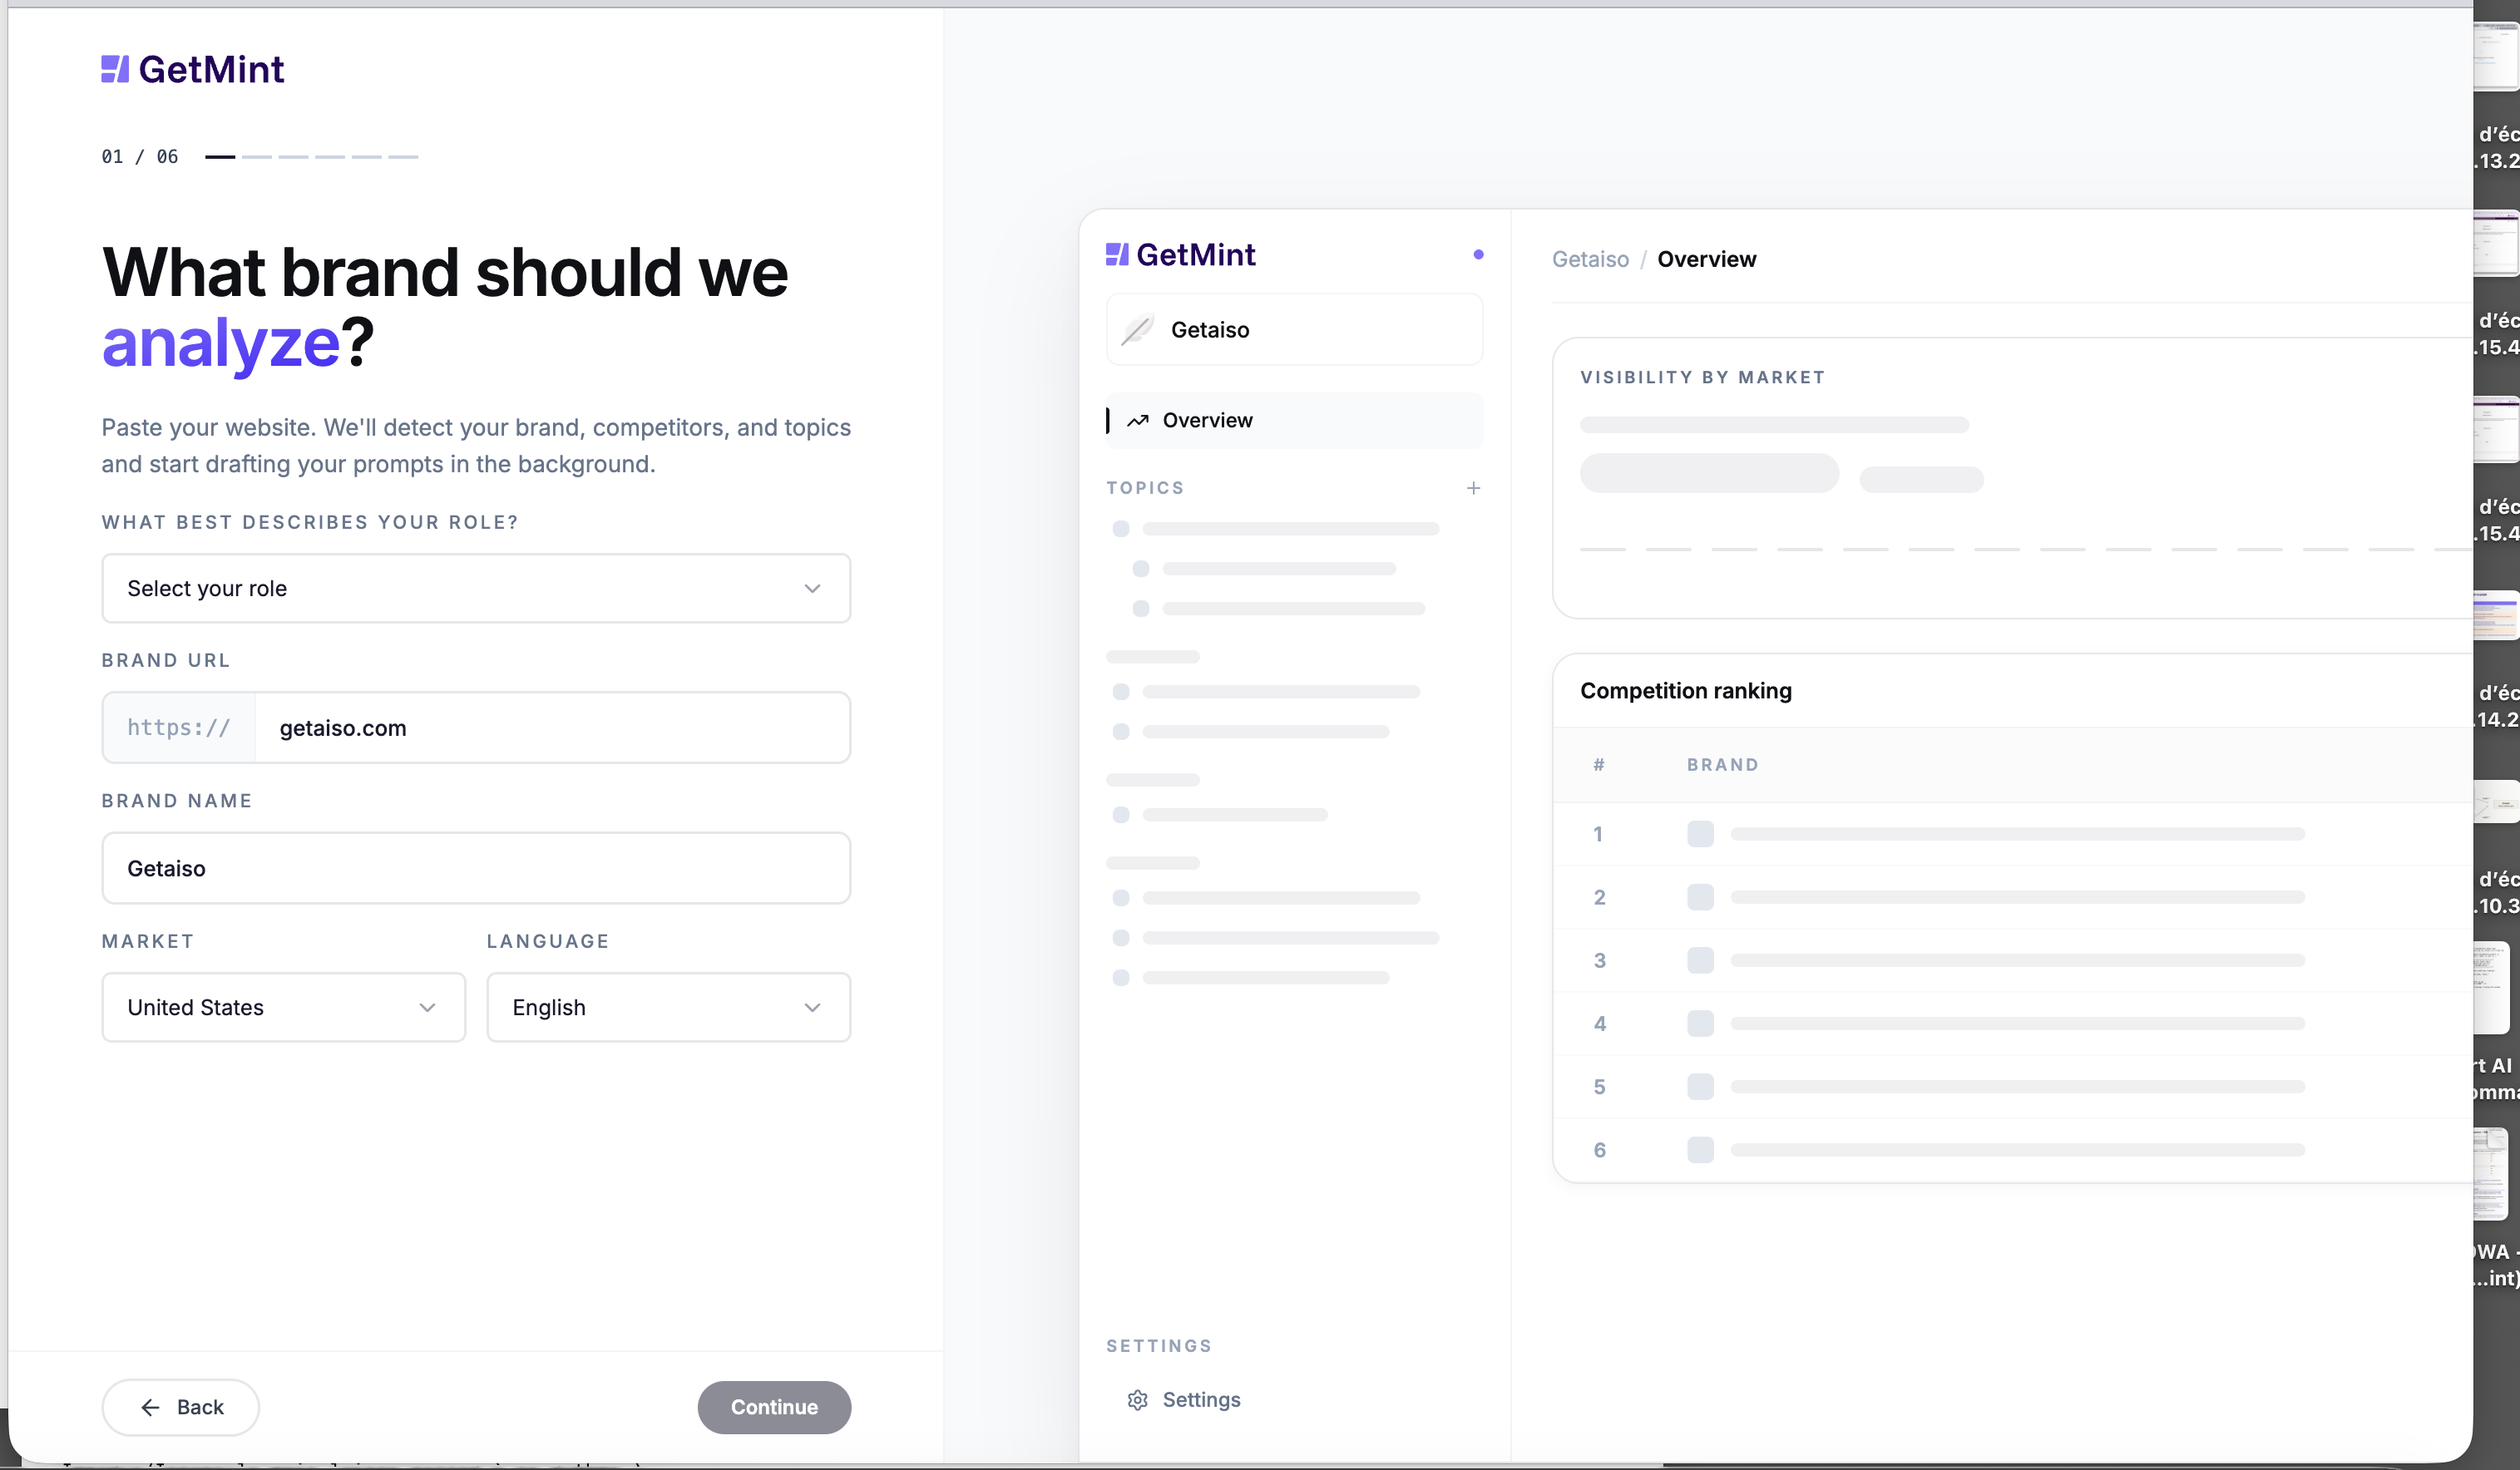
Click Continue. GetMint kicks off an automatic scan of your site — a modal walks through the four sub-steps:
- Fetching homepage and key pages — pulls raw HTML.
- Identifying competitor set — derives a starting list from the content.
- Extracting brand attributes — your positioning, pricing cues, key features.
- Mapping topic clusters — buckets your products and services into topics you can track.

The scan takes 15–45 seconds. You don't have to do anything; the next step opens when it's done.
Step 2 — Confirm your competitors
Wizard label: 02/06 — Confirm your competitors
GetMint pre-fills 5 competitors based on the scan. Two actions matter here:
- Drop anyone who isn't a real competitor. Aspirational giants that don't actually compete for your customers will dominate Share of Voice without telling you anything useful.
- Add anyone GetMint missed. Use the "Add a competitor" row at the bottom — name + website.
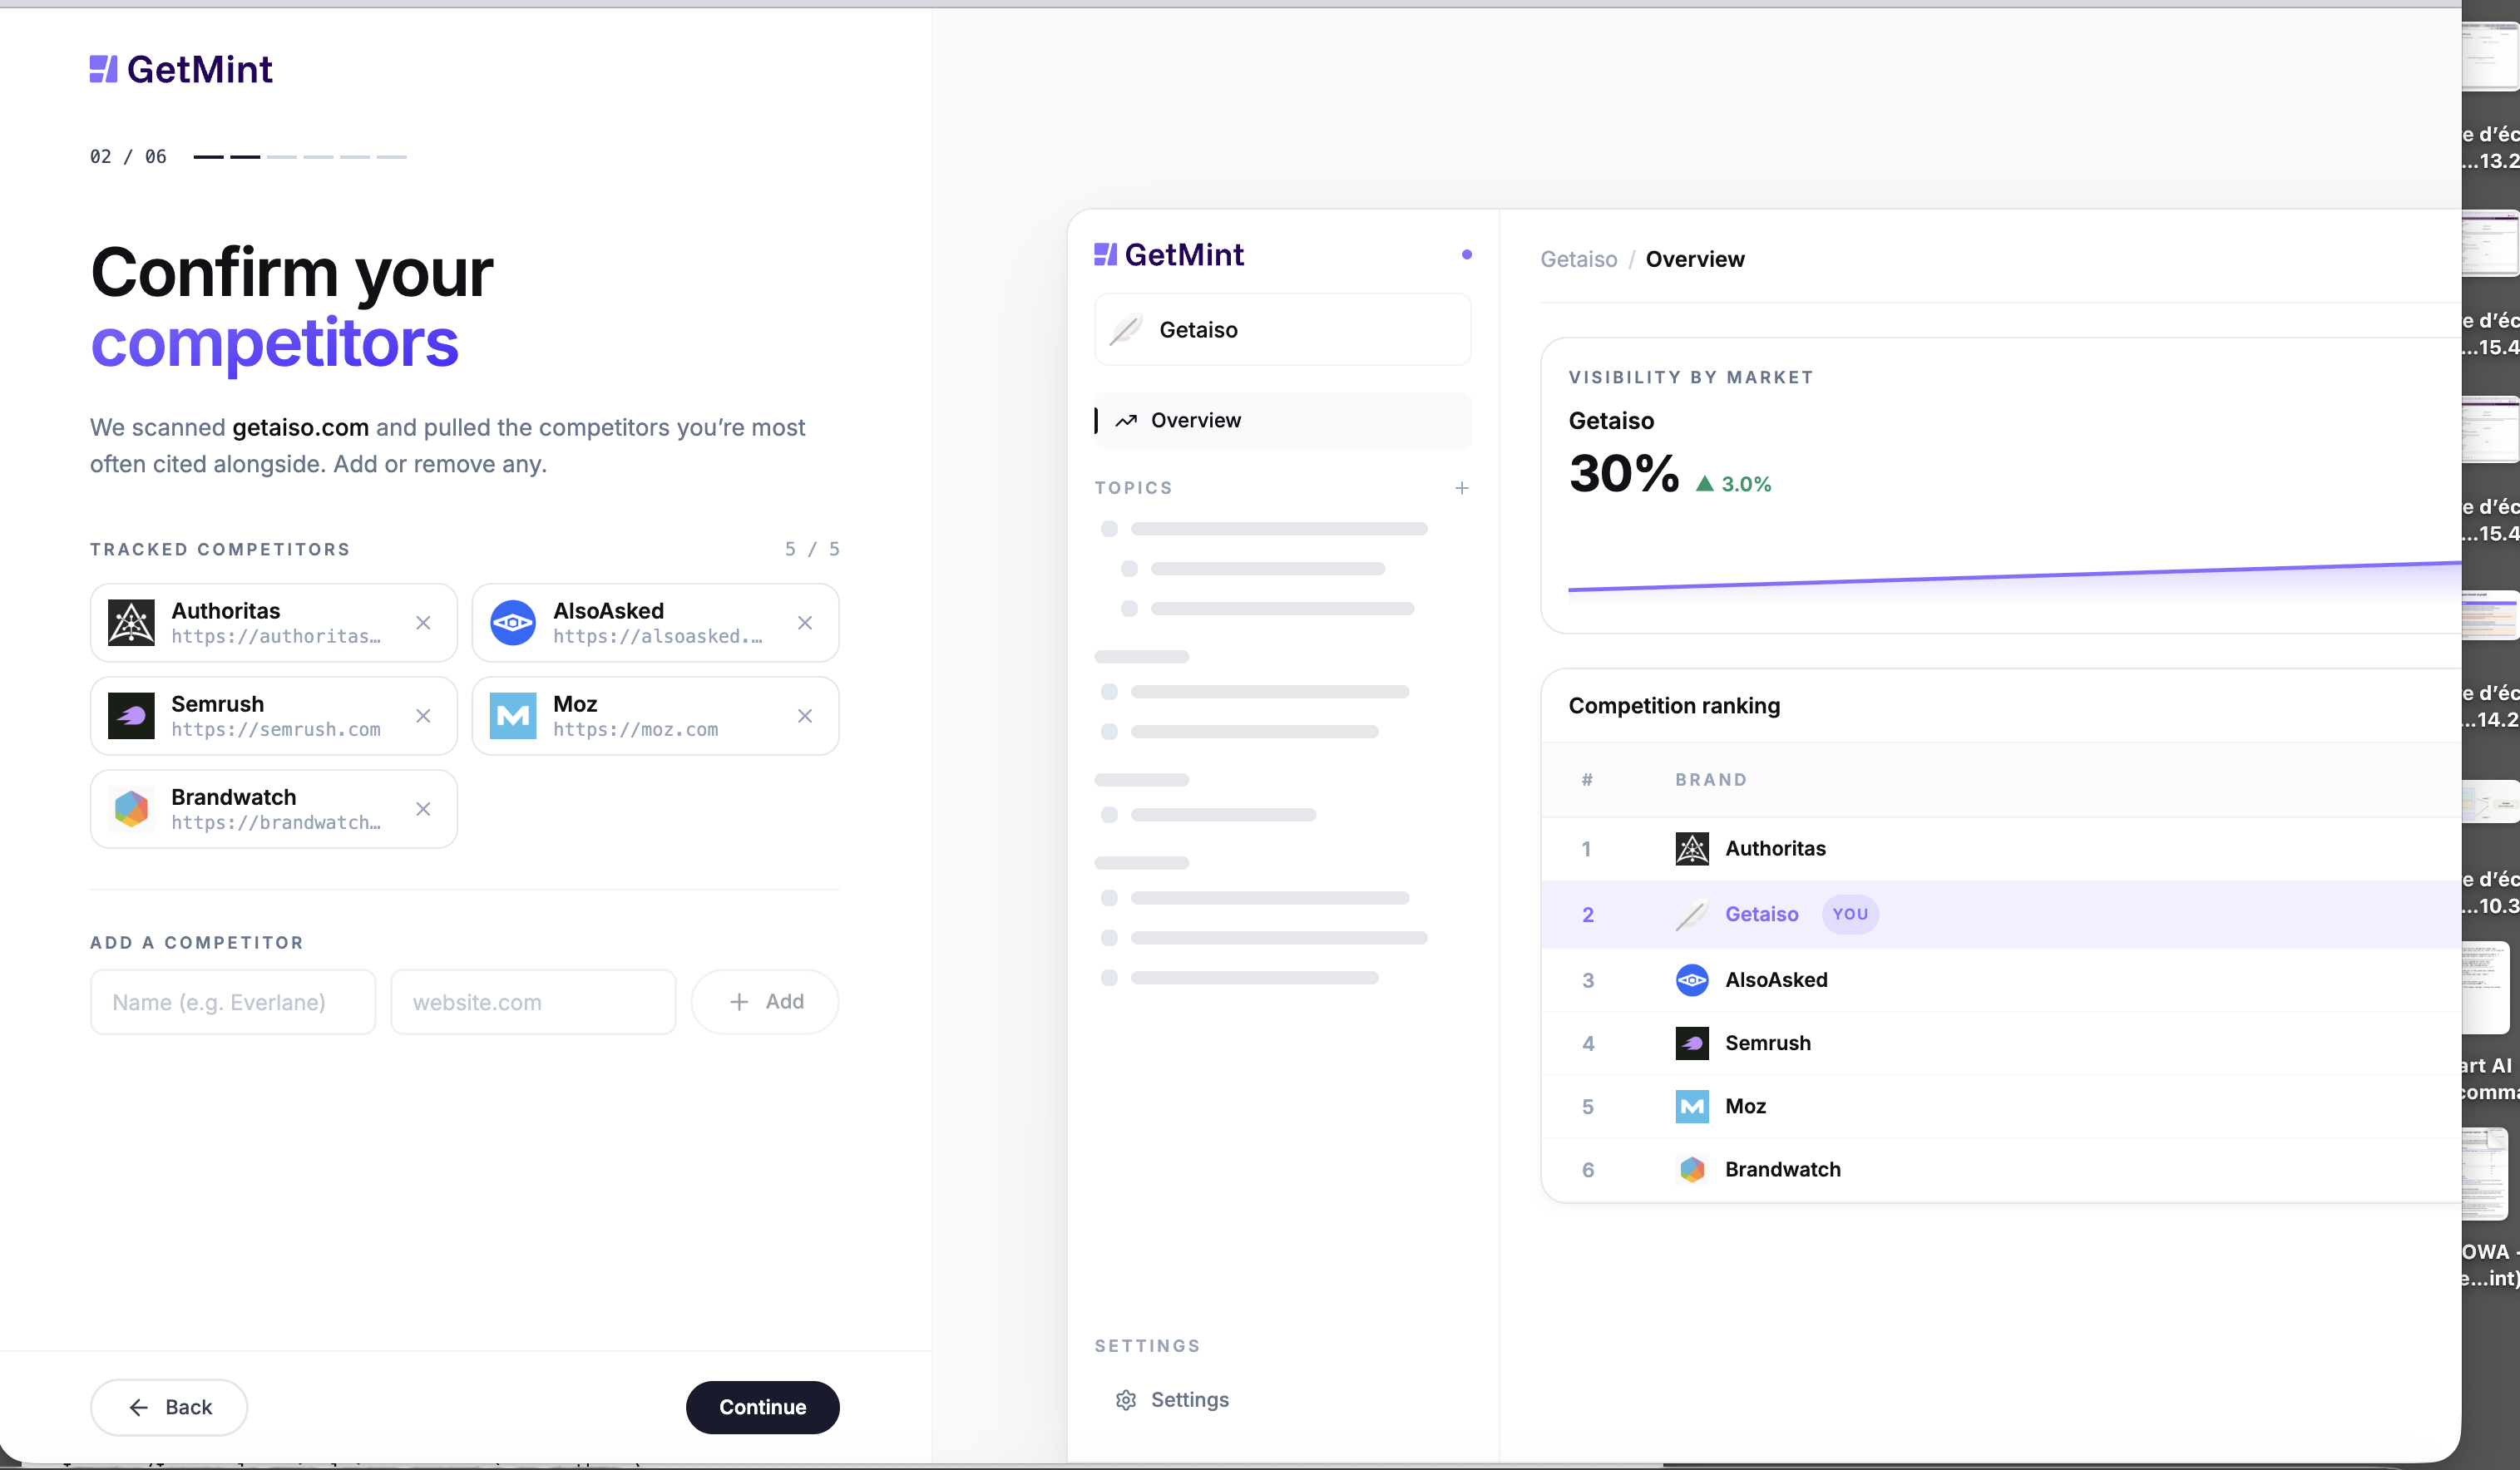
3–5 sharp competitors give cleaner charts than 15 loose ones. You can refine the list at any time after onboarding — see Add competitors.
Step 3 — Choose your AI models
Wizard label: 03/06 — Choose your AI models
Pick up to 2 AI models to start tracking. You can add more anytime from Settings.
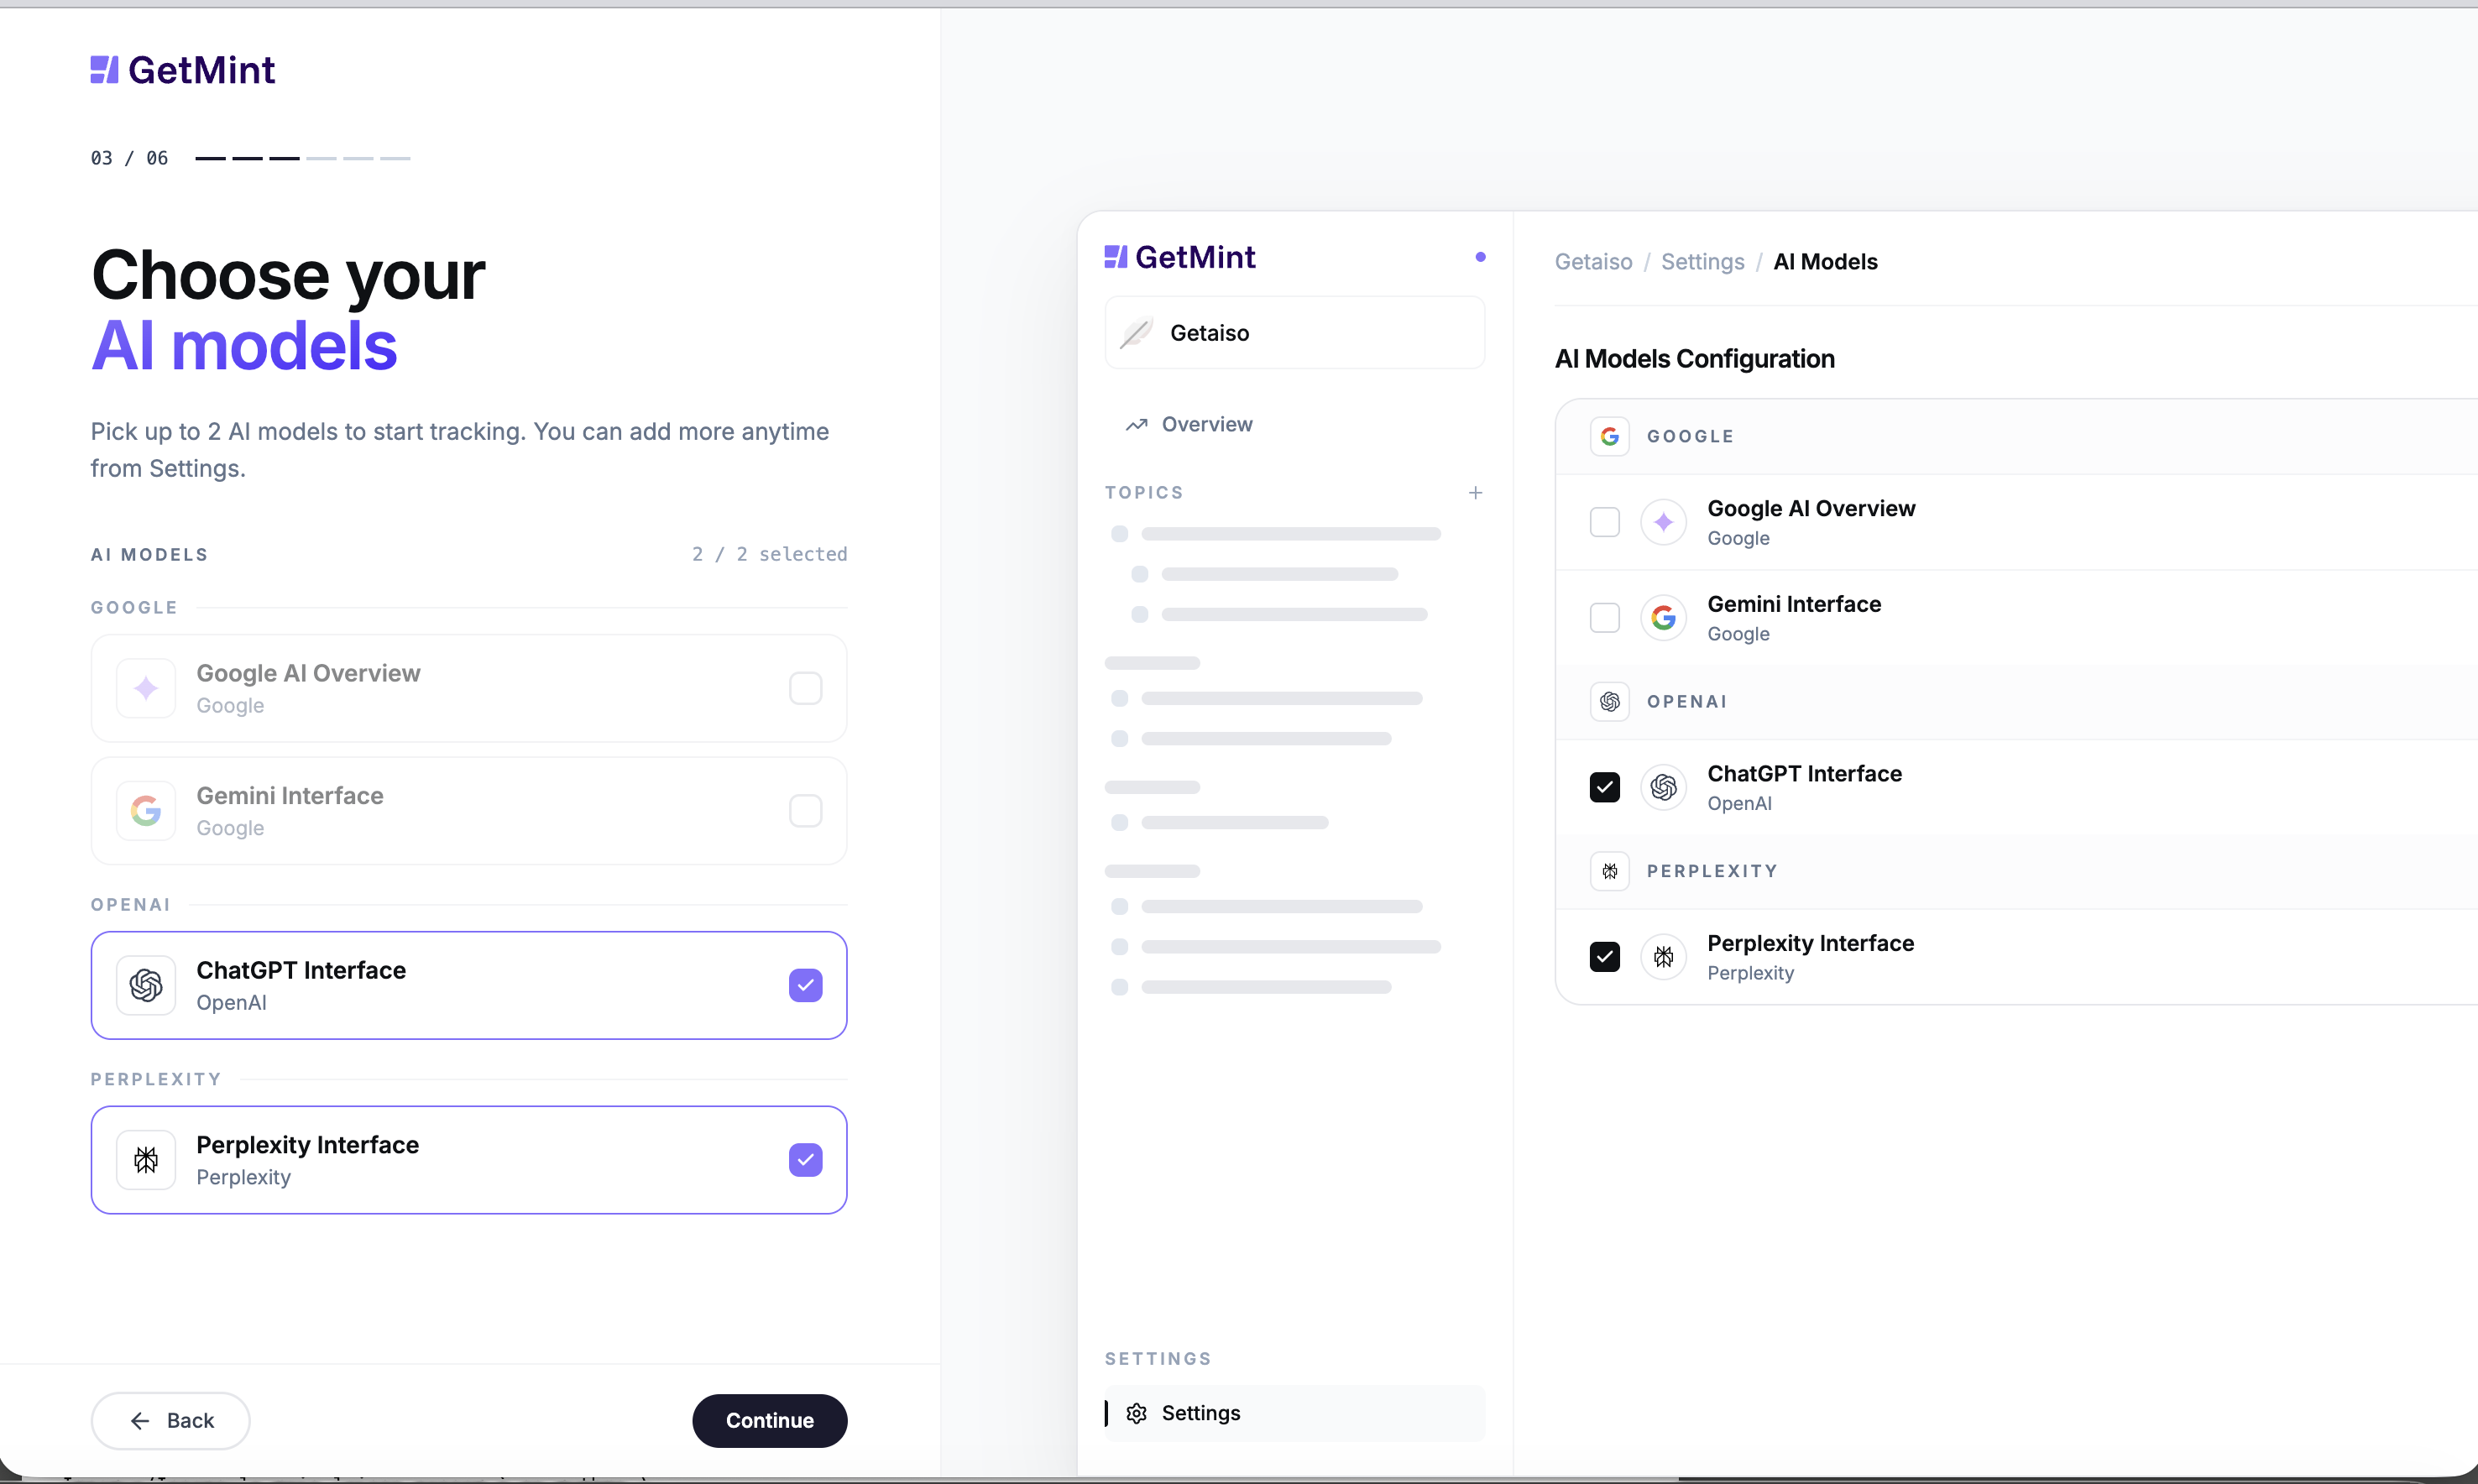
Available models include Google AI Overview, Gemini Interface, ChatGPT Interface, and Perplexity Interface. The default selection (ChatGPT + Perplexity) is a sensible starting point — they cover the two largest live-search assistants. Add Google AI Overview and Gemini once you want full coverage of Google's surfaces.
Step 4 — Pick a topic to start
Wizard label: 04/06 — Pick a topic to start
GetMint suggests three topic clusters from the website scan. Pick the one that matters most to your buyers, or click Use a different topic to write your own.
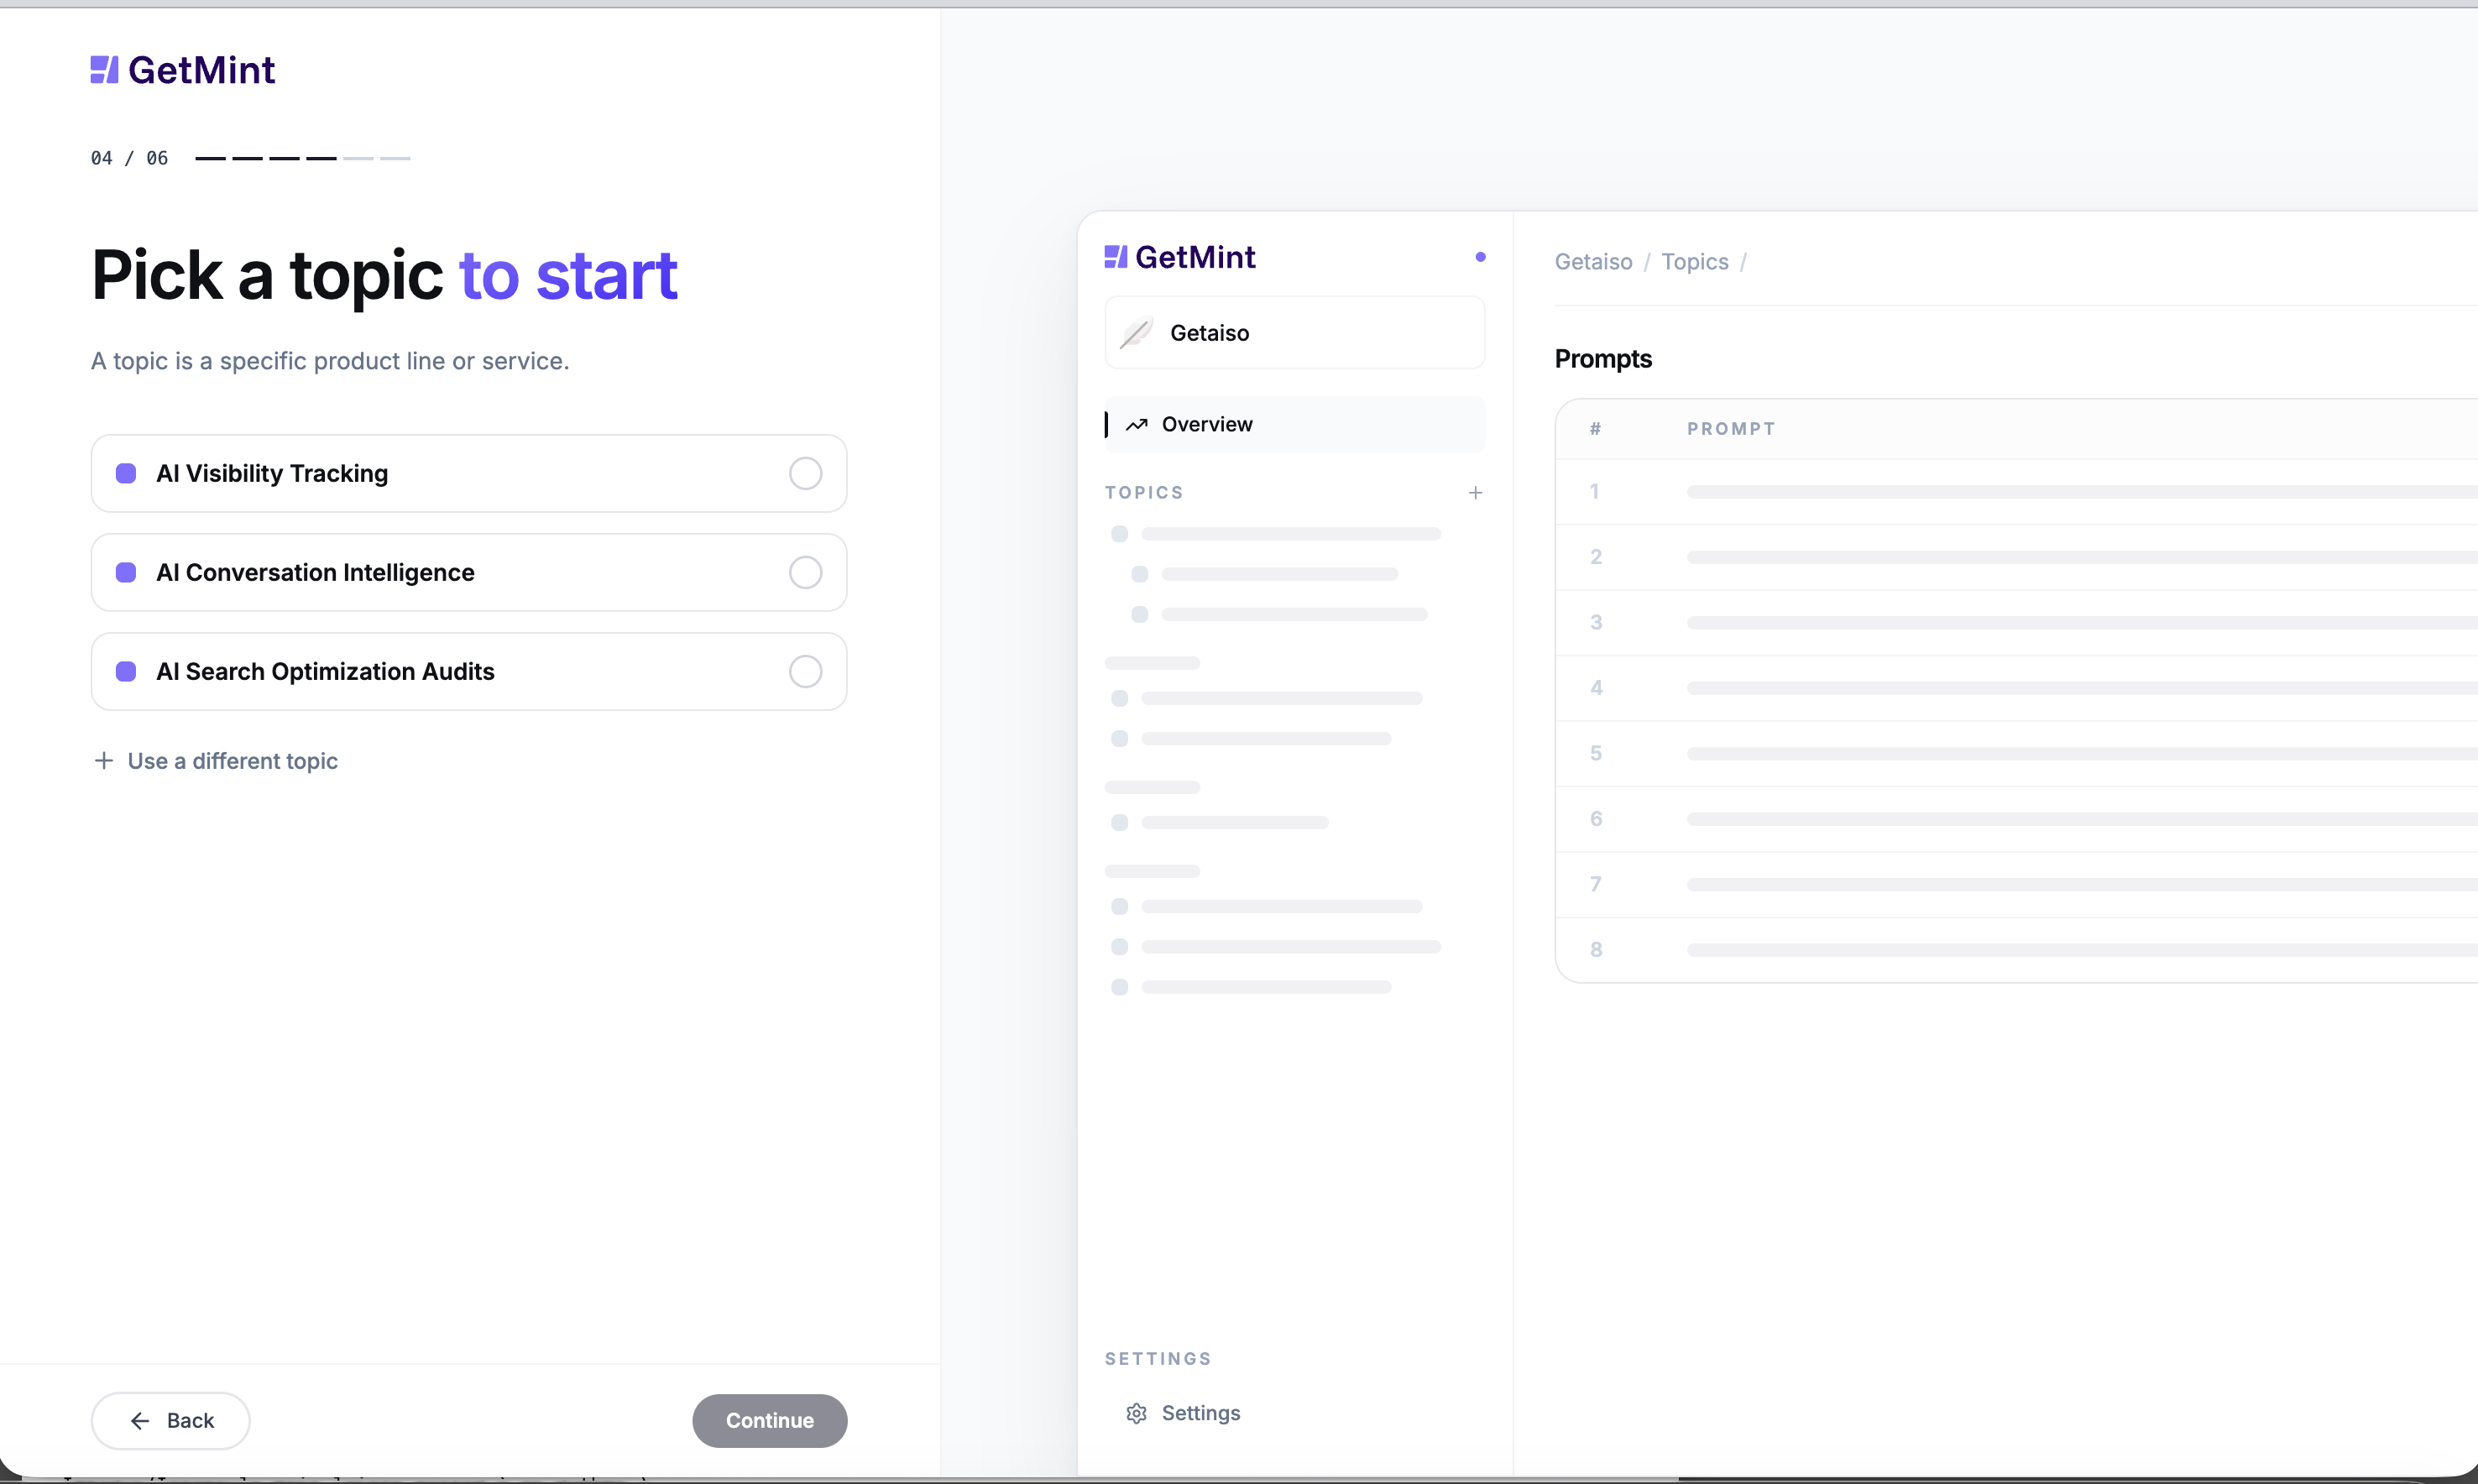
A topic is "a specific product line or service" — narrow enough that AI answers about it would name your category, not your whole company. You'll add more topics after onboarding.
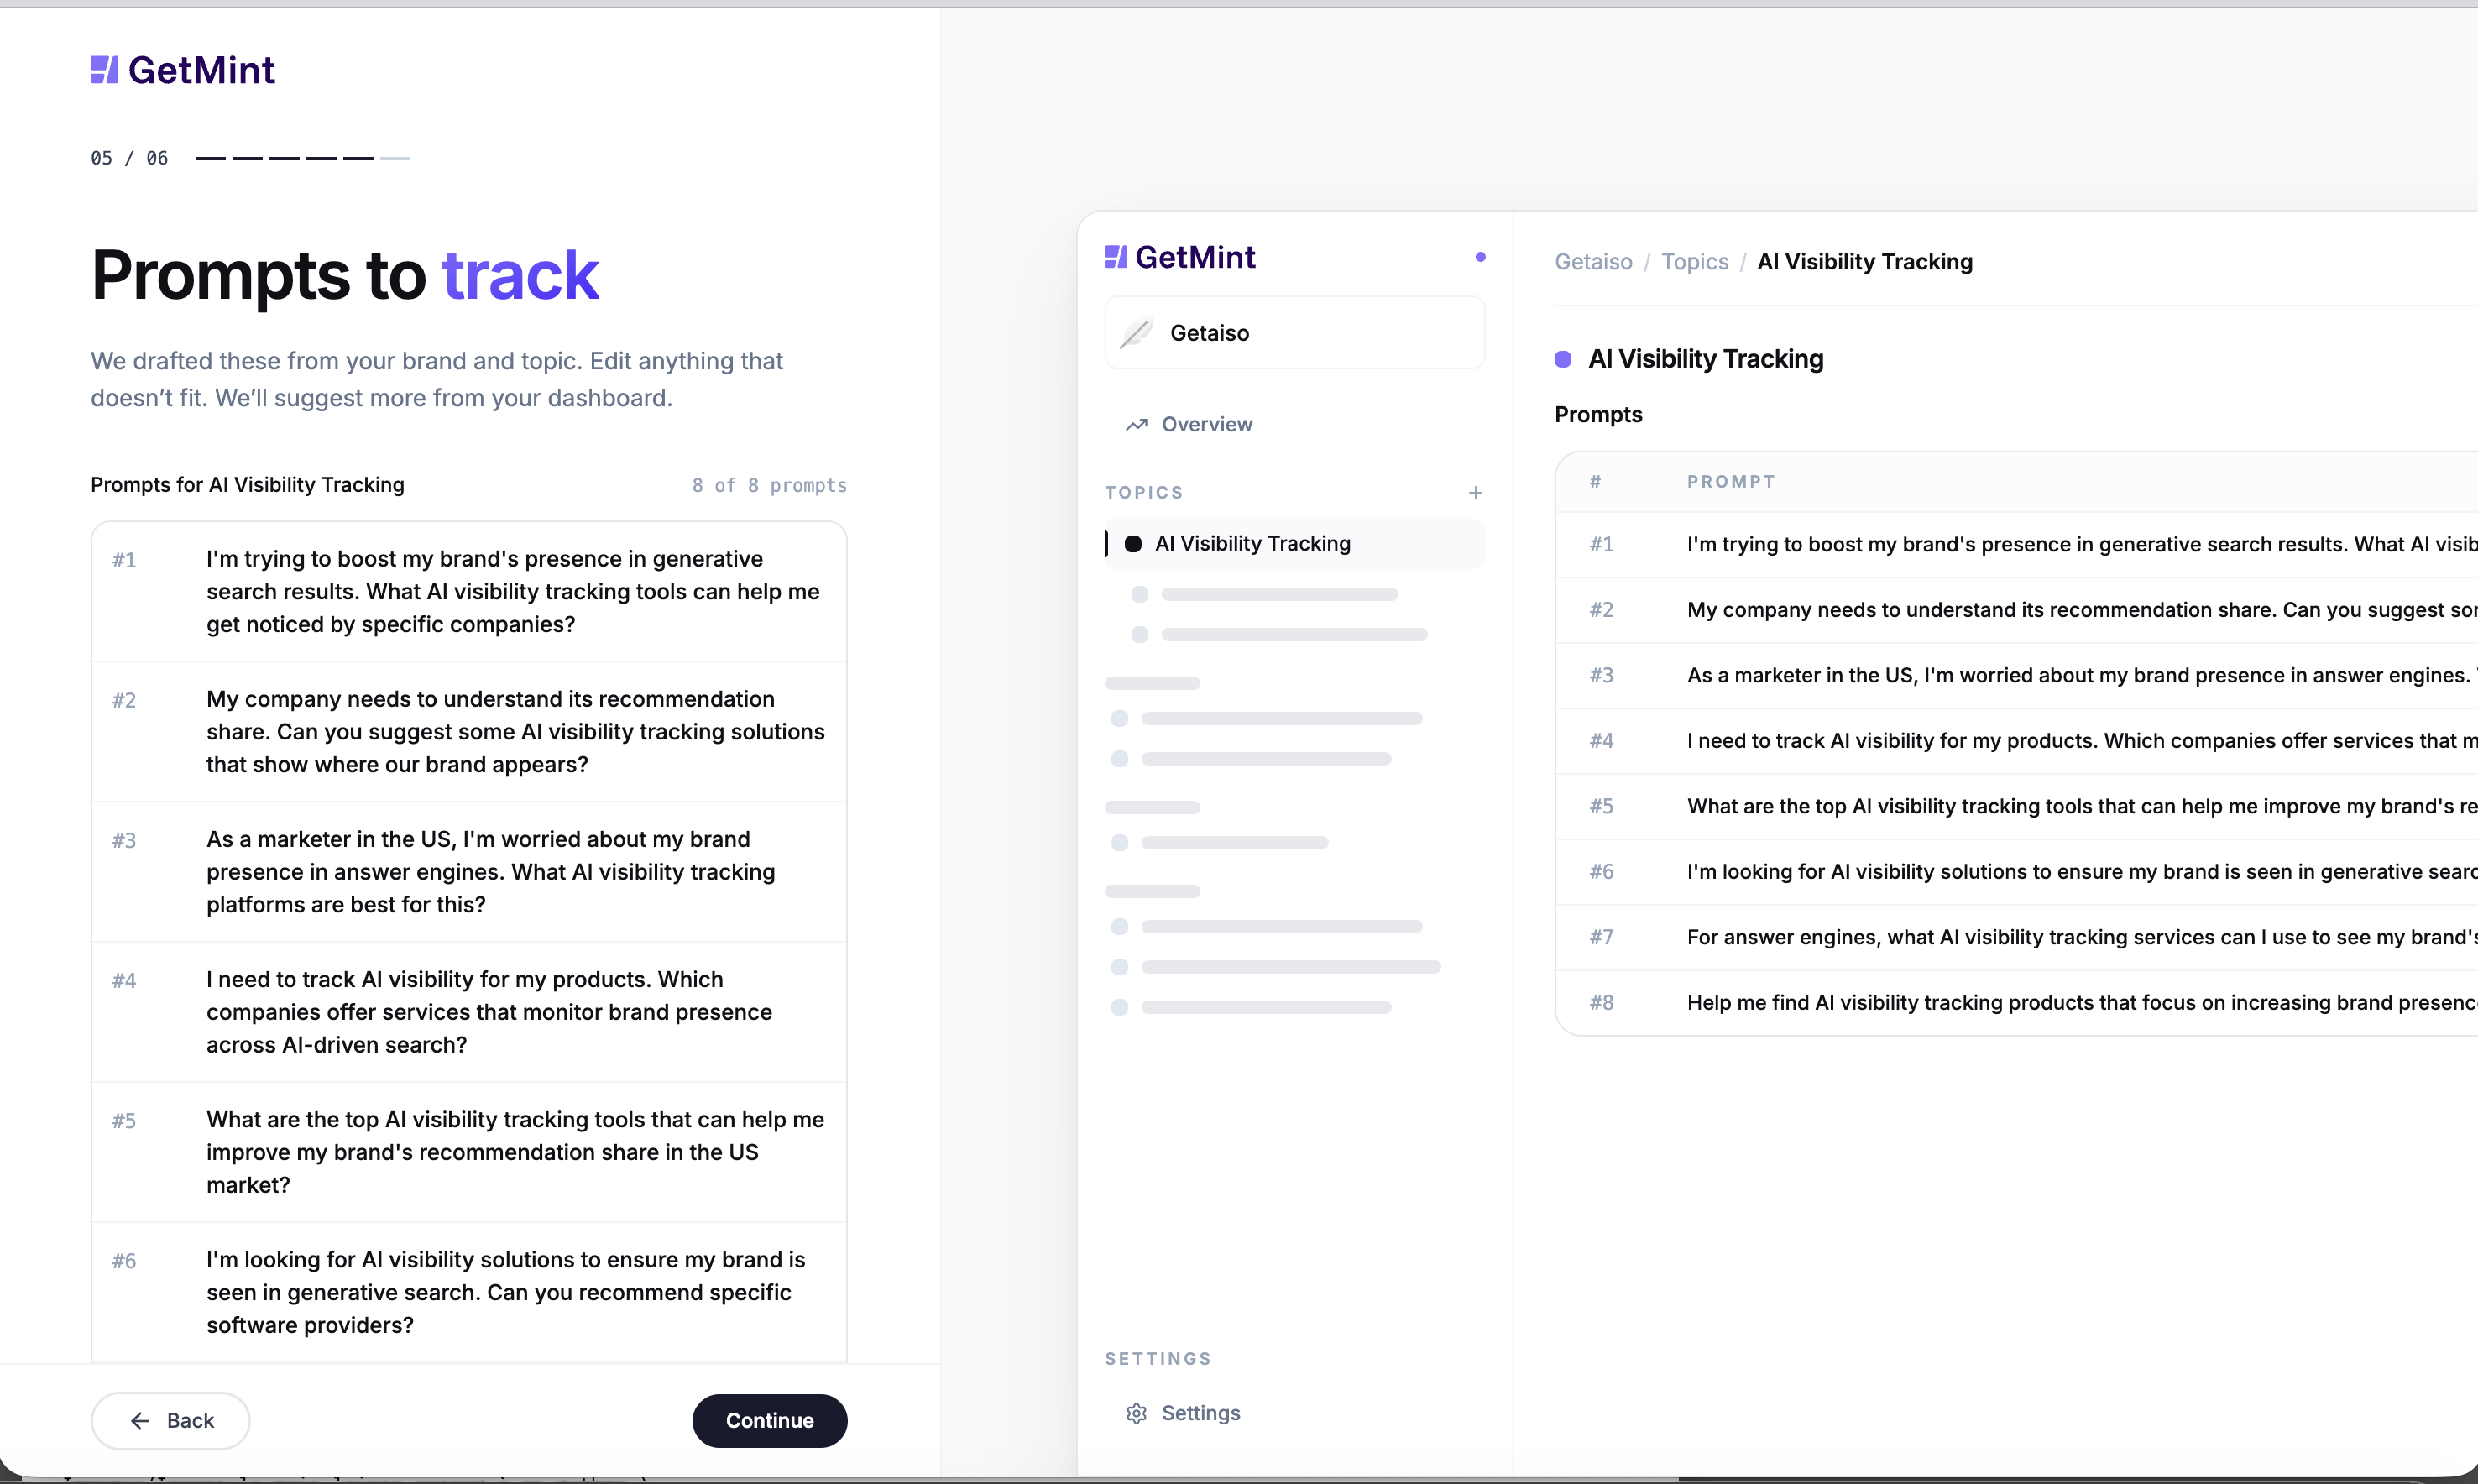
Step 5 — Review the prompts to track
Wizard label: 05/06 — Prompts to track
GetMint drafts a starter set of prompts from your brand + topic combination — usually 8 prompts. Two things to check:
- Read each one — does it sound like a question a real customer would type into ChatGPT? Edit anything that's too generic.
- Stay brand-neutral. Don't name yourself in the prompt; the whole point is to be surfaced unprompted.
Suggest more from your dashboard later if the starter set doesn't cover the questions that matter most. Your prompt budget is shared across visibility, alignment, and sentiment — see Manage topics and prompts and How do I choose which prompts to track?.
Step 6 — Phone number (optional)
Wizard label: 06/06 — One last thing — your number
Optional. Add a phone number if you want your CSM to be able to reach you for proactive check-ins, otherwise click Skip for now.
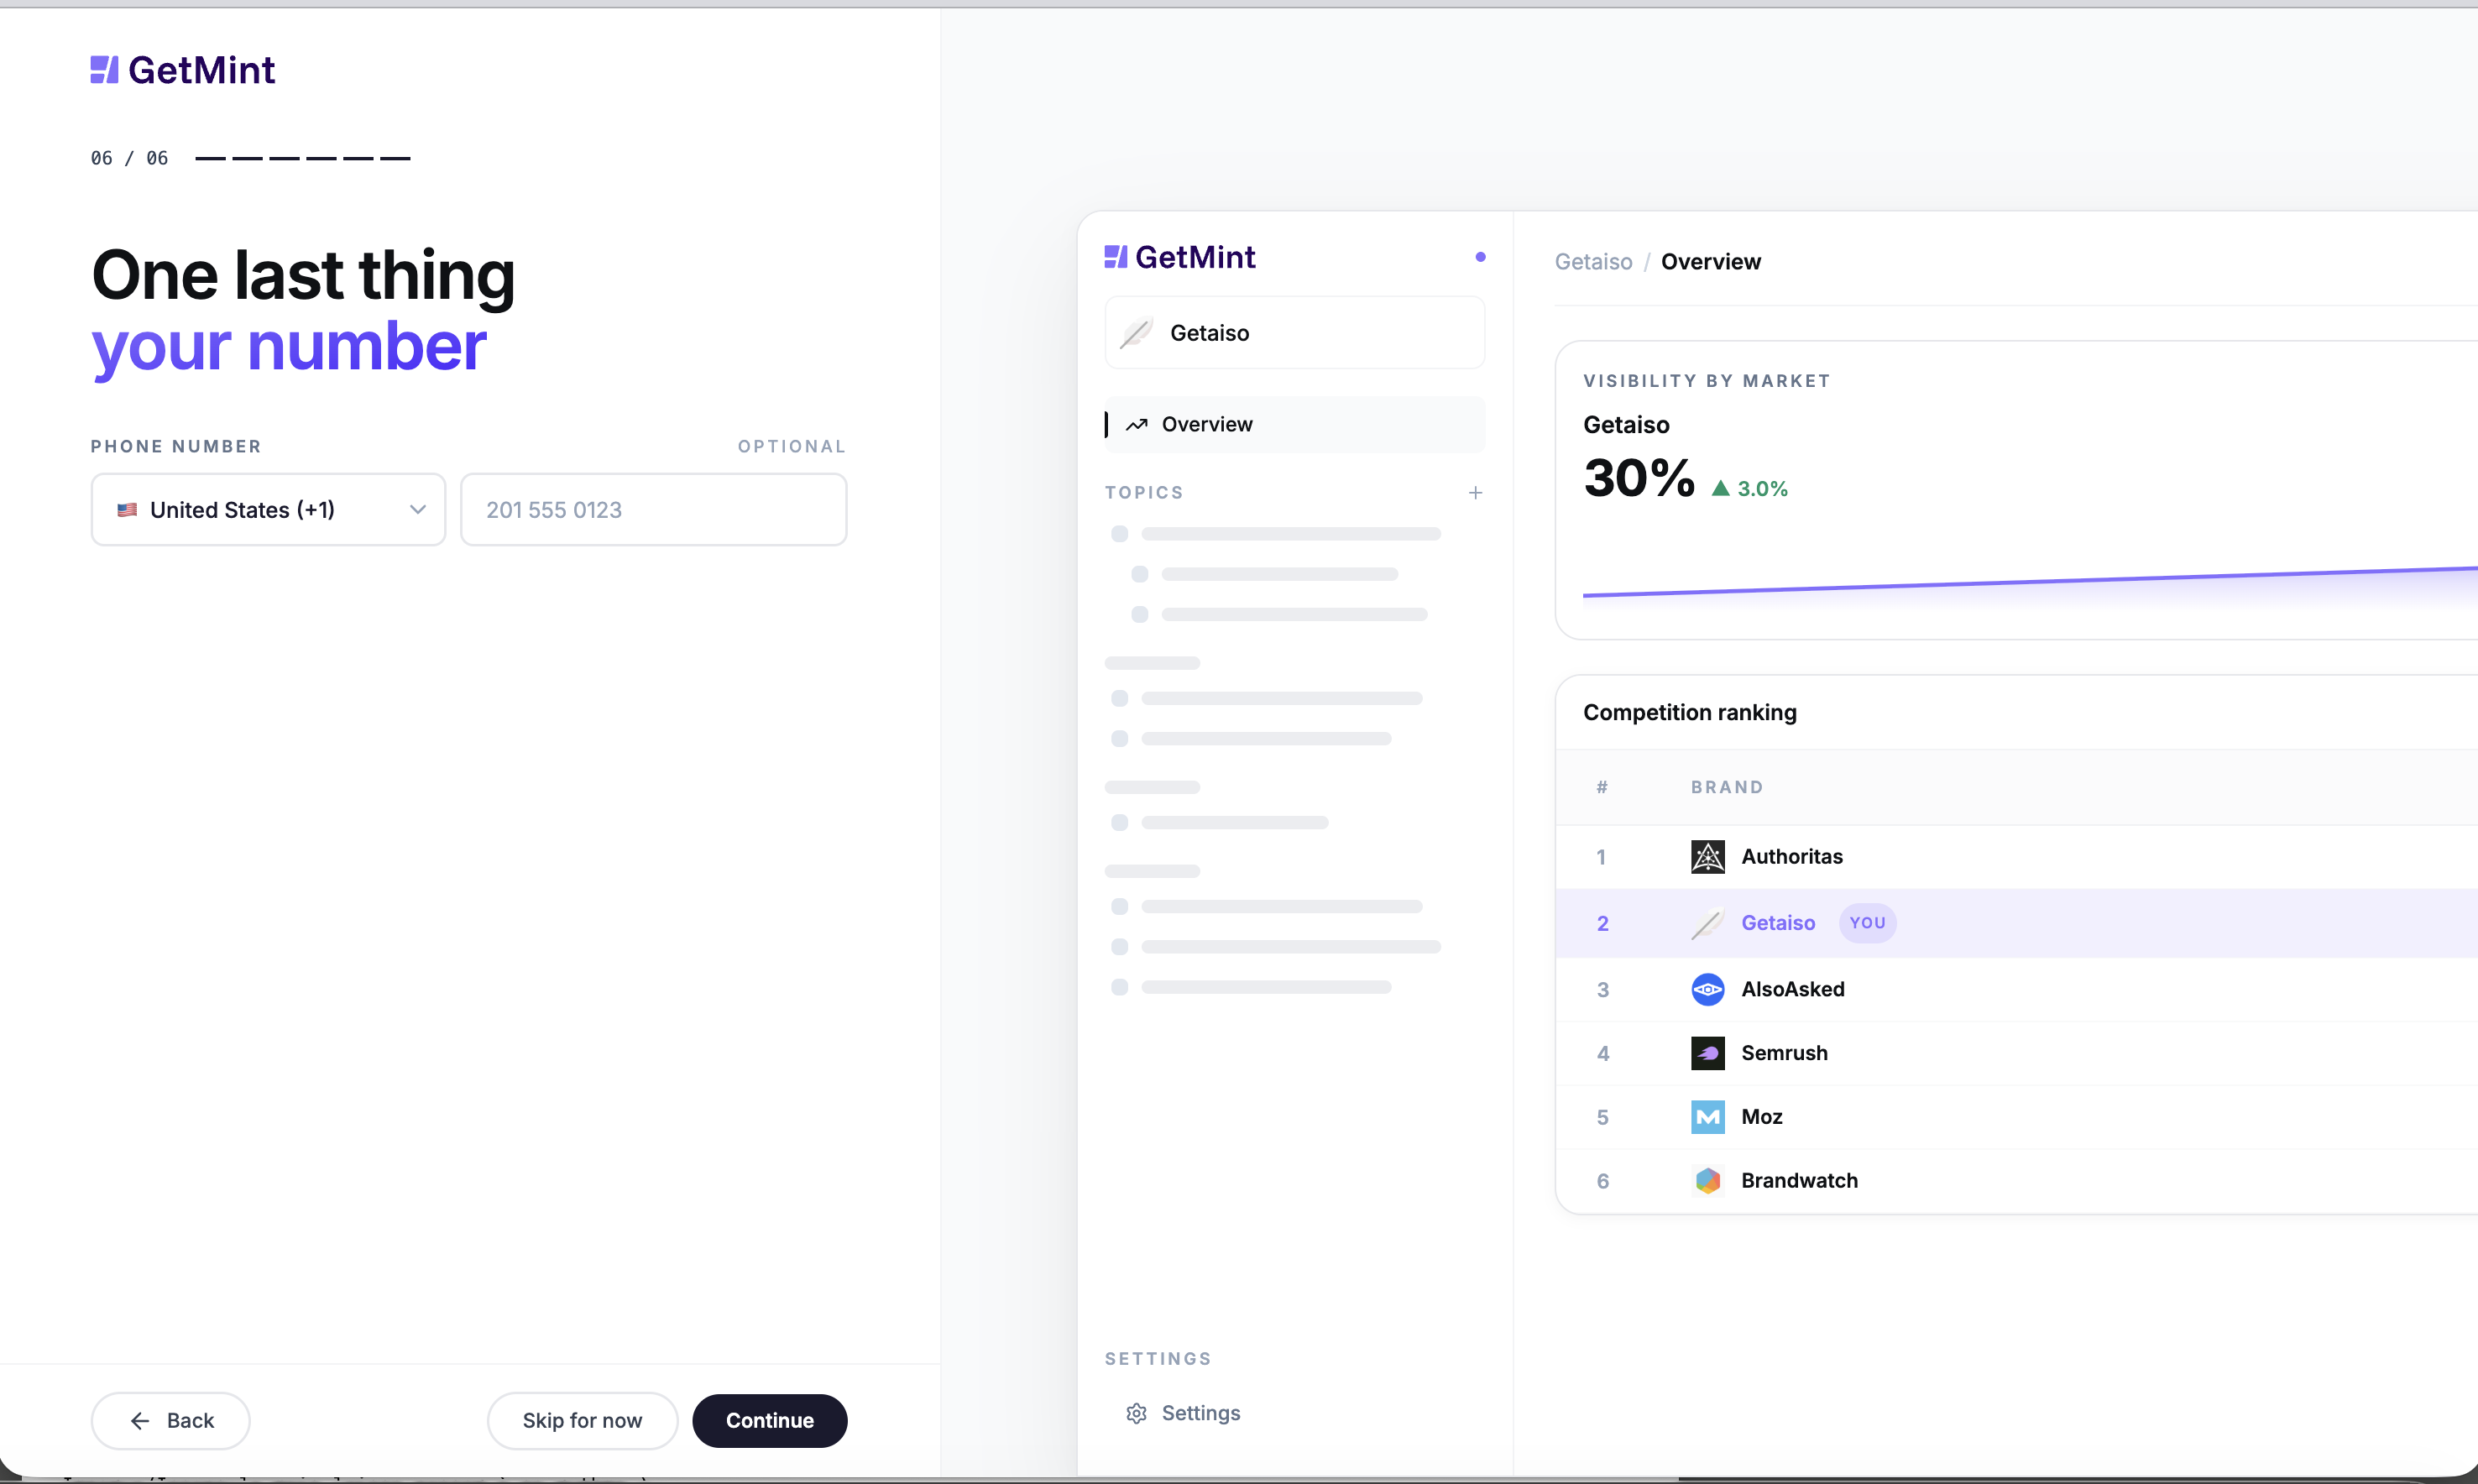
Either choice lands you on the dashboard.
You land on your dashboard
The setup-complete dashboard greets you with "Let's get [your brand] mentioned." A few things matter on this screen:
![Let's get [your brand] mentioned](https://app-ai-doc-studio.vercel.app/docs/onboarding/10.png)
- Trial banner — your free trial countdown sits at the top right. Click Manage subscription to upgrade at any time.
- Get started checklist (0 of 9 done) — four cards on the right walk you through the first improvements: modify brand attributes, add more competitors, add more prompts to your topic, connect Google Search Console.
- Left nav — Insights (Overview / Sentiment / Alignment), Topics (the topic you just picked), Workspaces (Content Studio, Explorer, Shopping), Audit, and Brand Settings.
- "Analysis in progress…" indicator (top right) — the first prompt run is queued. Data starts appearing after the first refresh completes.
After onboarding
- First data lands at the first refresh cycle (weekly on Starter). Your dashboard is empty until then — that's expected. See How often does my data refresh?.
- Work the checklist. Modify brand attributes → add competitors → add prompts → connect Google Search Console. Each one tightens the data you'll see later.
- Set the cadence. Open the dashboard weekly to observe, monthly to act, quarterly to report. See Why is my visibility dropping on a specific topic? for the loop.
Key takeaways
- Six steps, 3–5 minutes: brand → website scan → competitors → AI models → topic → prompts.
- The wizard makes opinionated defaults; edit before clicking Continue, not after (refining later still works, but you save a refresh cycle by getting it right the first time).
- First data after the first refresh cycle — empty dashboard on day one is normal.
- Land on the dashboard with a checklist (0 of 9) that walks you through the first improvements.